The LearnShare LMS Video Based Training feature is a powerful tool for your organization to leverage your existing and new video training material.
This feature gives you the ability to easily convert your valuable training videos into an online course that can be made available online across the web as streaming video.
It even allows you to track learners' progress through the video course and whether they have viewed enough to be marked complete.
When your video is uploaded and converted into a video-based Learning Resource, it allows you to put the course into catalogs for learner access, link to it from LMS pages, assign it as required training, track progress and completion of the course, and run progress/completion reports.
This Help topic also includes descriptions of Advanced Video features, Transcripts, and Closed Captions, as well as the ability to link to videos from sources outside of LearnShare ELMS, such as YouTube, Vimeo, and SharePoint. These will be available only if they have been enabled for your company. Contact Client Support if your organization would like them enabled.
NOTE: The video conversion feature supports most major video format files.
For details and limitations, see the Supported Video File Formats table at the end of this page.
When creating the resource, ensure the Type of Resource field is set to Video Based Training. This will reveal the Video tab. This tab controls settings specific to video-based resources.
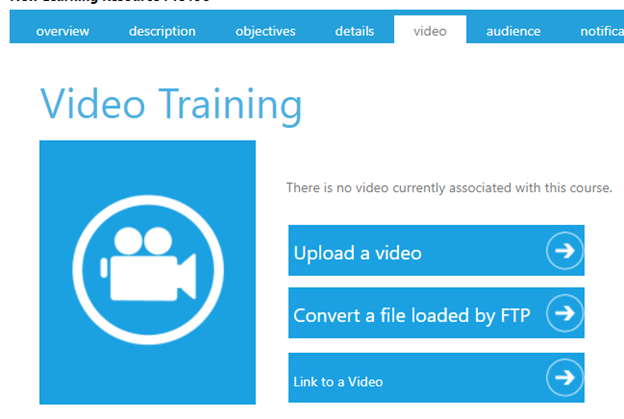
Once you have a Video Based Training type of Resource, go to the Video tab.
There are three options to upload a video:
Selecting "Upload a video" will display a pop-up window.
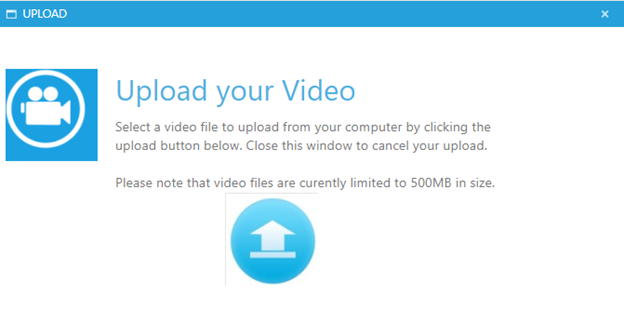
Click the Upload button (up arrow) to select your video file. When selected, the video begins uploading, and the system will show the current status of the upload process.
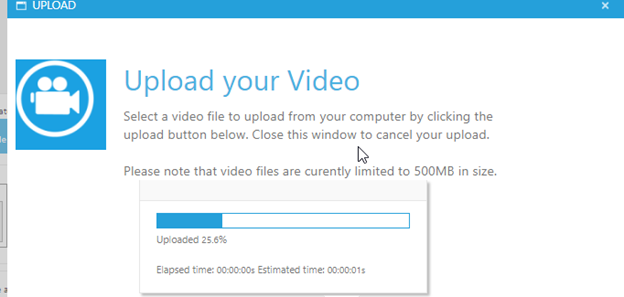
Large video files will take several minutes to upload. The upload window will automatically close when the file has uploaded.
If you are using the "Convert a file loaded by FTP" option, the system will prompt you to select the file that you previously uploaded. If you do not have an FTP site set up, please contact Client Support for assistance.
If you choose to "Link to a Video" a pop-up box will appear and ask you to paste in the link. The steps for linking to videos on both YouTube and Vimeo are the same. After pasting your link, select Test Link to preview your video and then select Save.

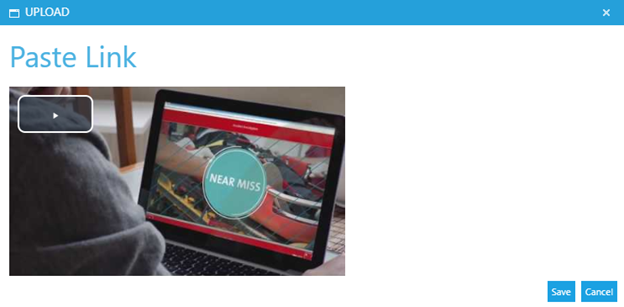
Once you have identified your video source, a "test pattern" image will appear on the screen – this is a visual indicator that the video is processing.
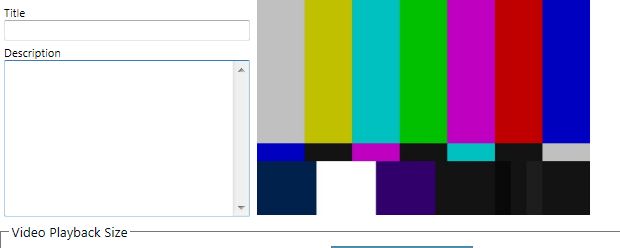
While the video is processing, you can continue to make changes and updates to the learning resource. The video will automatically become playable when the system completes the conversion process.
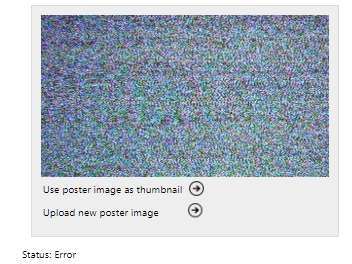
If the system encounters issues converting the video, you will you see multicolored static as the thumbnail and a status on the screen indicating an error with the conversion.
For videos that are uploaded into LearnShare, part of the processing is the automatic creation of transcripts and closed captions, which you can choose to make visible to learners during video playback. The closed captions are automatically translated to all languages that are enabled for your company.
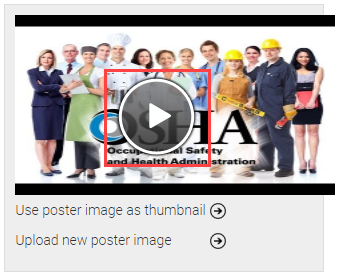
When the video has completed processing, the system will display an image of the video taken from a frame approximately one second into the video. This is the “poster image” and is what is displayed when the video is loaded but has not started playing. You can set this image as the thumbnail to be displayed on the resource description page by selecting "Use poster image as thumbnail". You can also replace the poster image by selecting "Upload new poster image" and upload an image file in JPEG format.

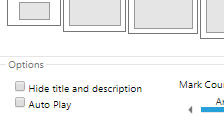
You can enter an optional title and description for the video. This title and description will be displayed when the video is launched by a user. You can check the Hide title and description box if you don’t want this to be visible to learners during playback.
You can choose the playback size of the video when displayed to end users. Select one of the standard dimensions, or select Custom and specify the width and height of the video. During playback, the system will scale the video appropriately, but will not change the aspect ratio of the video itself. This means the video will not be squished when it plays back. Learners will be able to adjust the size of the playback window if desired.

Next, you can select the Auto Play option to automatically begin playback of the video when the user opens the video. For best accessibility in all environments, this is not recommended.
After the transcript and closed captions have been created for an uploaded video, you can control learners’ views of transcripts and closed captions with the following check boxes:

Next, set the tracking options for the video:
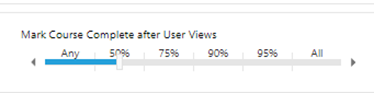
When tracking the video, the system can mark completion based upon the percent of the video the user has watched. Use the slider to select how much of the video must be watched to be marked complete. Note that video is automatically bookmarked approximately every 15 seconds, and this is used to calculate the percent watched. This means that a short video should be set at a high percentage to be sure the desired amount is passed.
Note that repeated viewings of the same video content, in multiple sessions, count towards completion of the video. For example, if you set the video to mark as complete after viewing 50%, and a learner views the first 25% of the video twice in separate sessions, then the learner will gain a completion of the video.
You can add closed captions to a video that differ from the ones that are automatically created. Click the Upload button for the appropriate language and browse to a VTT file on your computer. A VTT (Video Text Track) file is a W3C standard for displaying timed text in connection with HTML5.

After you select the VTT file, you will see a red dot if there is a problem with the file, a yellow dot while it’s uploading, and a green dot when upload is complete
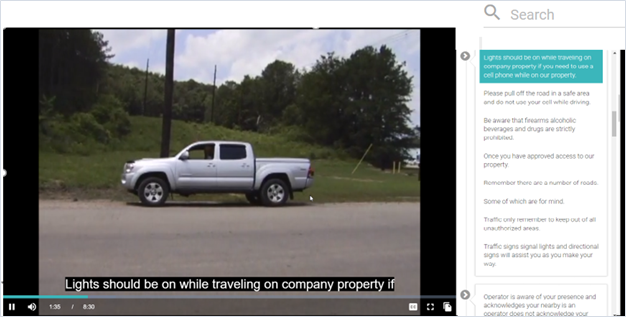
To preview the video, including any transcript or closed captions that were automatically created, first, be sure to save any changes you made. Then, click the Play button in the preview window where the poster image appears.
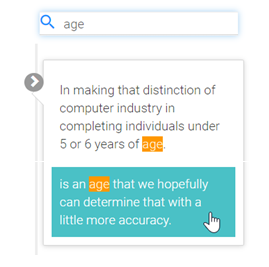
While previewing the video, the search control can be used to search text in the transcript. (Learners will see the same search control when they view videos with transcripts.) Clicking on one of the matching results will jump to that point in the video.
If you need to update your video course, go to Resources > Maintain Learning Resources, search for the course, and edit it. Navigate to the Video tab.
You can alter the title, description, or any of the playback settings as desired. To replace the video content with a new video, you can select "Upload another Video" to upload a replacement video from your browser, "Convert a file loaded by FTP" to use a video file loaded via FTP to replace the current video, or "Link to video" to update/remove the link. The process for loading the video is the same as described above.
NOTE: When you replace a video that you uploaded, via the browser or FTP, all transcripts and closed captions for that video (including closed captions that you uploaded) will also be replaced.
When users launch a video, a pop-up window, the size of which is based on the settings in the course, will open. It will show the title and description entered in the Video tab.
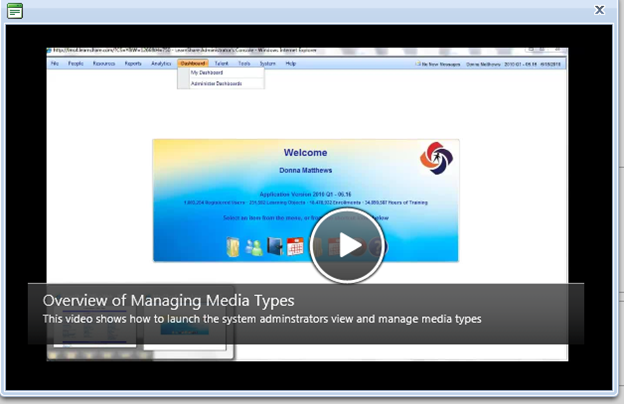
Unless Auto Play is enabled, the user must click the Play button to start the video. While the video is playing, users can interact with the video using the on-screen controls.

These controls will be familiar to most end users and control the following:
When using a video as a course, the system will update total time and completion status on the course automatically every 15 seconds. You can use the View Session Transactions screen to see the interactions produced by the video.
In general, LearnShare accepts most major video format files. There are limitations on the codecs that are used within the container. Proprietary codecs are generally not supported.
NOTE: If you need special software to play a video, then it's likely the video will not convert correctly.
| Extension | Container | Unsupported Video Codecs |
| .mp4 | MPEG-4 | n/a |
| .mov .qt | Apple QuickTime | Apple Intermediate, Sony DVCAM, Panasonic DVCPro, Apple Animation |
| .flv .f4v | Adobe Flash | SWF (vector animation files) |
| .wmv .ask | Windows Media 9 | Microsoft Screen (MSS2), Microsoft Photo Story (WVP2), GoToMeeting (G2M3 & G2M4) |
| .mpg .vob .m2v .mp2 | MPEG-2 | n/a |
| .m4v | Apple iTunes | n/a |
| .avi | A/V Interleave | Panasonic DVCPro, Indeo3 (IV30), MJPEG, Microsoft Video 1 (MS-CRAM) |
| .webm | WebM | n/a |
| .ogv .ogg | Ogg | n/a |
| .mxf | MXF | Panasonic DVCPro |
| .mts | AVCHD | n/a |
| .mkv | Matroska | n/a |
| .ram .rm | RealVideo | Real G2 (RV20), Real |